|
We put
concrete blocks at various points underneath
the sheds to level them and to raise them off
the ground so that the air can circulate. We
would appreciate it if you could level the ground
before we arrive.
Please advise us if you have power, as we will
need to bring a generator if you do not. |
|
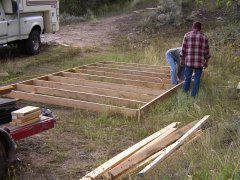
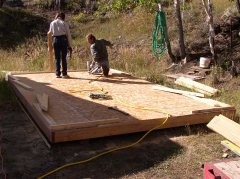
The floors
are built with 3/4" tounge and grove or 3/4" osb
which is blocked on all the edges.
|
|
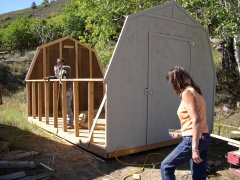
The walls
are built flat and then raised up on each end.
|
|
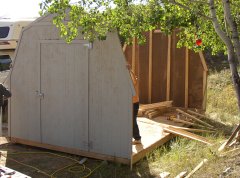
The sides
are added after the end walls are in place, each
side is 4ft high. The tallest point of the shed
is 10' 6"
|
|
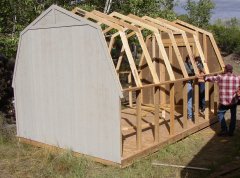
The trusses
are 2x4 2ft on center.
|
|
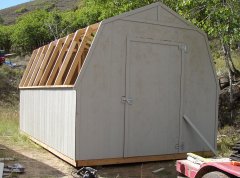
Next the
siding is added. Both the sides and the end walls
are constructed with Smartboard siding, which
is primed and read to paint. There are 6"
strips added to the trusses before the metal roof
is screwed on.
|
|
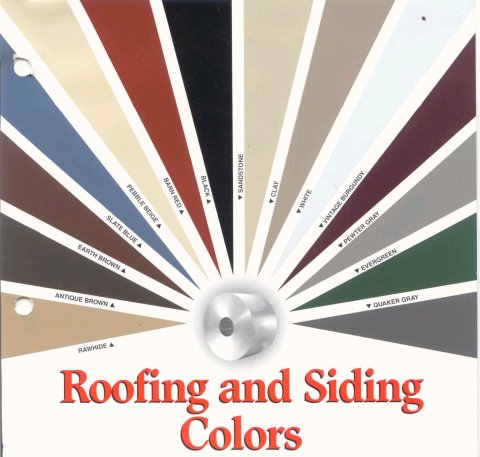
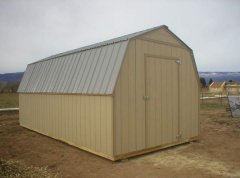
Metal roof
colors subject to availablity. |
|
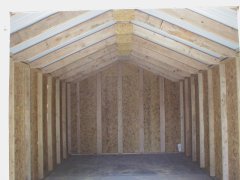
A view
of the finished 10x20 shed interior.
|
 |
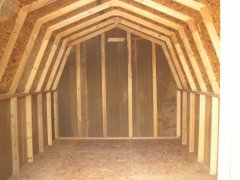
Here
is the interior of our other style of shed.
This has 7ft walls with a 5/12 pitch gambel
roof.
|
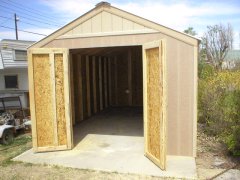 |
Another
shot of a finished shed, showing the interior
and exterior. |